Installing your EV Charger

Step 1 – Find a licensed electrician
Here at Ampol we’ve introduced our AmpCharge home EV charging installation service to ensure a simple and convenient way to get your EV charger installed quickly and safely.
If you opt not to go ahead with an Ampol installation then you’ll need to find and organise a licensed electrician to install your EV charger.
Learn more about our installation service:
Step 2 – Request a quote
Once you’ve contacted a licensed electrician, describe the installation work you need completed. It’s best practice to provide some information to the installer so they can meet your charging needs and installation expectations. You may need to share photos of where you want the charger installed, main switchboard and an approximate distance between the two (e.g. 10-20m).
Based on the provided information, Ampol or a 3rd party installer should be able to send you a quote in writing for you to accept.

Step 3 – Schedule your installation
Once the quote is accepted, Ampol or a 3rd party installer will be in touch to book in a convenient day and time to install your EV charger.
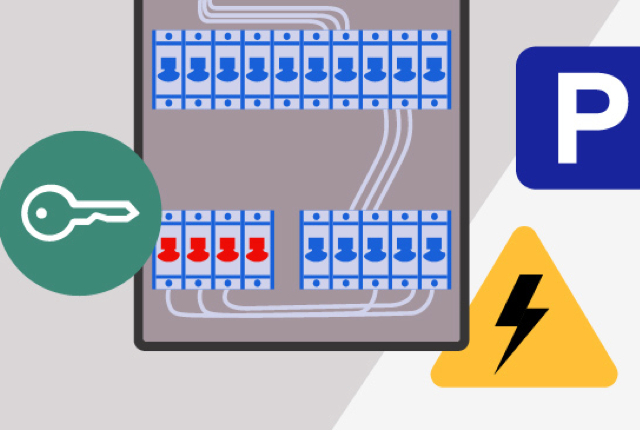
Step 4 – Prepare your property for installation
A few simple things will help make sure your EV charger can be installed smoothly and safely:
1. Check that there’s easy access to your switchboard and to the place where your EV charger will be installed, including driveways and paths, and areas where cables will be run.
2. Remove any tripping hazards in and around the switchboard and where the EV charger will be installed.
3. Have someone available to allow access to the licensed electrician during the installation.
4. Provide guidance to the licensed electrician on parking availability.
5. Be mindful that your property may be without power for up to 1 hour and consider ways to prepare your property (licensed electrician will be able to advise on the day).
Step 5 – Installation day
On the day of installation, here’s what to expect:
1. Meet with your licensed electrician on site and advise them of your installation needs.
2. Be sure to inform them again where you would like the charger installed and pass on any special considerations for your garden or property.
3. Your licensed electrician will be able to access the 7kW Charger installation manual via the QR code located on the side of the charger unit or on the Installation Measurement Template that is inside the box.
4. During the commissioning process, the electrician will input the details of your installation into the EVOS Installer Portal, please then make yourself available to follow the steps and connect to your home WIFI network. Our customer support team are ready to assist if needed on 13 14 04.

Step 6 - Final checks
Before the licensed electrician has left your property, make sure you cover off these final checks with them:
1. Check that the charger is on (white LED should be on).
2. Check your installer hasn't damaged your property.
3. Check your installer has tidied up the installation area.
Need a hand? Solve a problem, get maintenance tips and more

Step 7 – Power up your journey
You're now ready to charge your EV and start your journey.